
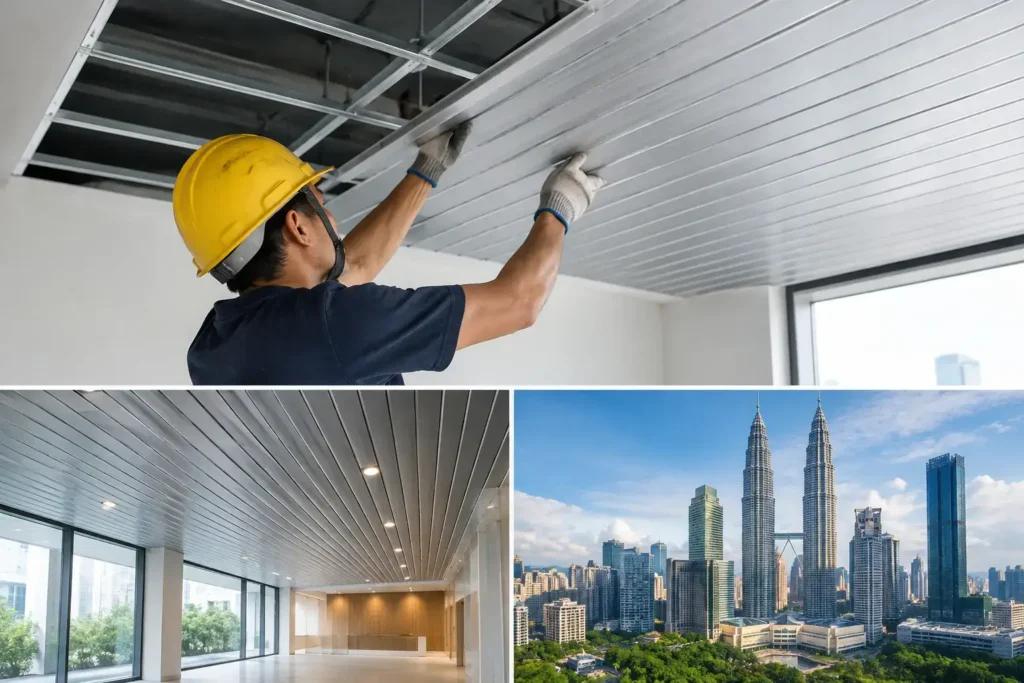
A ceiling may look level from the floor, yet a few millimeters of error in the suspension frame can create visible panel gaps, uneven shadow lines, and rattling during heavy rain. For homes, offices, shopfronts, and covered outdoor areas in Puchong and across Selangor, the aluminium ceiling installation process must account for structure, moisture exposure, access points, and the finish expected from a custom-built space.
Aluminium ceilings are valued for their clean architectural lines, low-maintenance surface, and suitability for Malaysia’s humid climate. But the final result is determined long before the first panel is installed. Proper site measurement, sound fixing points, accurately aligned framing, and controlled panel cutting all matter.
Start With Site Measurement and Ceiling Design
Every installation begins by checking the actual site condition, not just relying on a drawing. Ceiling height, beam locations, existing services, slab condition, wall alignment, lighting positions, and access requirements affect the layout. A concrete slab, structural steel canopy, or extension roof frame each requires a different fixing strategy.
For a bungalow in Bangsar or Damansara Heights, the ceiling design may need to coordinate with slim-profile aluminium glazing, skylights, ACP awnings, or a feature wall. On a commercial project in Shah Alam or Subang Jaya, the priority may be a consistent grid across a wider area, with allowances for air-conditioning services, sprinklers, signage, and maintenance access.
The installer establishes reference levels using the lowest practical point of the structure. This avoids a common site problem: following an uneven slab and ending up with a ceiling that appears to dip across the room. Perimeter lines are marked first, then the panel direction and joint arrangement are confirmed. Long visual runs usually need particular care because minor misalignment becomes obvious under downlights or daylight from adjacent glazing.
Choosing the Right Panel Direction
Panel direction changes the perceived proportion of a space. Running panels along the longer dimension can make a narrow porch, corridor, or entrance feel more extended. Running them across the width can visually broaden an area. The choice also depends on drainage exposure, ceiling access, the placement of lights, and the location of adjoining aluminum doors or glass partitions.
A concealed or open-joint look may suit a contemporary residence, while a more structured panel arrangement can suit retail and commercial entrances. The correct choice depends on the intended architectural finish, not a one-size-fits-all layout.
Building the Support Frame Correctly
The support frame carries the ceiling load back to the main structure. It must be straight, secure, and properly spaced for the selected aluminium panel profile. This is where engineering discipline matters more than surface appearance.
Installers first fix the perimeter angle or channel to the surrounding walls, beams, or fascia. The main suspension members are then installed and leveled. Depending on the site, these may be hung from concrete fixings or connected to steel members. Where structural steel framing is involved, the fixing detail must respect the load path and avoid creating a weak, flexible, or misaligned support point.
Cross members are set at the required spacing to prevent panel movement and sagging. A ceiling installed beneath PU metal deck roofing often needs additional consideration because the roof system can transfer heat and amplify rain noise. Adequate separation, secure bracing, and a carefully designed ceiling void help produce a neater and more stable result.
The frame should also allow for movement at junctions. Aluminium expands and contracts with temperature changes. Restrictive fixing or poorly planned edge details can lead to noise, visible distortion, or panels that bind against walls over time.
The Aluminium Ceiling Installation Process on Site
Once the frame is checked for level, the aluminium ceiling installation process moves to panel preparation and fitting. Panels are measured and cut according to the confirmed site dimensions. This is particularly important around columns, downpipes, corners, light fittings, fan points, and irregular wall lines, where nominal dimensions rarely match the completed structure.
Cut edges need to be clean and properly concealed with trims or perimeter details. Rough cuts, forced panels, and oversized gaps immediately lower the quality of an otherwise premium installation. Panels are fitted progressively so the joint lines remain straight from one end of the ceiling to the other.
For external soffits, car porches, covered patios, and entrance canopies, detailing must deal with wind-driven rain. Water should not be allowed to collect above the ceiling or find a path behind fascia finishes. The roof, flashing, gutter line, and monsoon drip channels must work together before the ceiling is closed. An aluminium ceiling is a finish layer, not a substitute for roof drainage.
Installers also coordinate openings for recessed lights, exhaust points, sensors, and access panels. Openings should be planned early, with adequate support around them. Cutting large holes after panels are installed can weaken the appearance and affect alignment. Where service access is required, removable panels or discreet access hatches should be included in the design rather than improvised later.
Alignment Checks Before Final Closure
Before the final panels are secured, the team checks level, panel spacing, shadow gaps, trim alignment, and the relationship between the ceiling and nearby glazing or wall finishes. This last review is especially valuable where aluminum ceilings meet glass shopfronts, folding doors, louvers, or ACP cladding. Different materials reflect light differently, so a line that looks acceptable from one angle may look uneven from the entrance or driveway.
Protection is equally practical. Finished panels can be marked by dust, sealant, welding residue from nearby metalwork, or careless work by later trades. Sequencing the work properly protects the powder-coated aluminium finish until handover.
Details That Affect Long-Term Performance
A well-installed aluminium ceiling is not simply a matter of selecting an attractive color. Powder-coated aluminium offers a durable architectural finish, but its performance still depends on the environment and installation detailing. Coastal exposure, open-sided porches, high heat below roof decks, and areas exposed to heavy monsoon rain require more careful planning than an enclosed indoor ceiling.
Ventilation in the ceiling void may be required where heat buildup is a concern. Drainage paths above the ceiling must remain clear. If a ceiling is installed below a roof edge or awning, the roof waterproofing and flashing should be completed and checked first. Covering an unresolved water path only hides the issue until staining or dripping appears at the finished ceiling.
For projects that combine aluminium ceilings with structural steel extensions, the steel frame should be sized and braced for the roof and ceiling assembly, not treated as an afterthought. The same coordinated approach applies to skylights, glass dampening gaskets, aluminum windows, and custom metal fascias. Good results come from resolving the interfaces between trades before fabrication and installation begin.
Why Custom Fabrication Improves the Finish
Factory-fabricated ceiling components can be prepared to suit the actual panel layout, trim profiles, and site conditions. This provides a cleaner fit than forcing generic lengths into a custom residential or commercial space. It is particularly useful for feature ceilings, deep porch soffits, irregular extensions, and projects with integrated lighting or glazing.
Home Alloy Design & Engineering Work provides new custom fabrication, direct supply, and professional installation for aluminium ceilings alongside aluminium glazing, structural steel, roofing, and architectural metalwork. For property owners and project teams, one coordinated contractor can reduce interface problems between the ceiling, roof frame, fascia, and surrounding finishes.
Frequently Asked Questions
What affects an aluminium ceiling installation timeline?
The timeline depends on site readiness, ceiling area, access conditions, panel layout, structural framing, service coordination, and whether the installation is part of a larger roofing or glazing project. Measurement and fabrication must be completed before on-site fitting can proceed accurately.
Can aluminium ceilings be installed below PU metal deck roofing?
Yes. This is a common application for porches, extensions, and covered areas. The support framing, heat management, roof drainage, and access for services should be planned together so the finished ceiling remains stable and clean.
Which areas does Home Alloy serve for custom aluminium ceilings?
Home Alloy Design & Engineering Work is based at No. 7, Jalan BK 1/19, Bandar Kinrara 1, 47180 Puchong, Selangor, serving residential, commercial, and industrial projects in Puchong, Selangor, and Kuala Lumpur, including areas such as Putrajaya, Cyberjaya, Petaling Jaya, and Shah Alam.
What information is needed before fabrication starts?
Provide the project location, approximate ceiling area, photos of the existing structure, preferred finish, lighting or service requirements, and drawings where available. These details help confirm the framing approach, panel layout, and installation sequence.
A ceiling should do more than cover the structure above it. It should bring the roof, lighting, glazing, and architectural lines into one controlled finish. Send your project details on WhatsApp and our team will review the requirements and advise on the next step.